Oscar and I have been discussing brewing beer at home for a while now. We both enjoy craft beer, and we enjoy cooking, so we figured brewing beer would be a great combination of two things we love. So this year for Christmas, Oscar gave me a homebrew kit from
William's Brewing. The kit came with a fermenting bucket, a priming bucket, liquid malt extract, hops, yeast, and most of the tools we'd need (We had to buy a brew kettle separately). This kit made a brown ale.
 |
| The fermenter and priming buckets |
Brewing beer is pretty simple in theory--you give the yeast some sugar to eat and add hops for flavor and aroma. Originally, hops prevented unwanted bacterial growth in beer. Malt is made from the sugars in partially-sprouted barley. It is roasted to varying degrees to produce different flavors and colors in beer. (It's actually
a little more complicated that that, but we can skip the details for now.) The yeast consume oxygen in the fermenter to grow and multiply and produce carbon dioxide. When they run out of oxygen, they go into anaerobic growth, and turn the sugars in the malt into alcohol.
We started by washing our equipment and sanitizing it. Sanitizing is probably the most important step in brewing, because the nascent beer has so much sugar that bacteria can easily grow and overtake the growth of the yeast.
 |
| Oscar is adding water to our brew kettle. You can see that we are boiling a lot of water to sterilize the water for rinsing the sanitizer off equipment. |
Next, we boiled four gallons of water. It turns out that boiling that much water takes about an hour on my stove. Yikes. Once we boil, we turn off the heat, and add the malt extract. The liquid malt extract is a thick syrup, and we need to dissolve it all the way into the water before we can turn the heat on again, or else the malt syrup can scorch onto the bottom of the pot.
(Sometimes, other grains are steeped in the water--this is almost exactly like this like steeping a teabag in hot water--to add color, flavor, and more fermentable sugars before the malt is added. We didn't do that on our first homebrew, but we did on our second batch.)
 |
| This is the wort, the liquid that you get after dissolving the malt into water. The malt boils for an hour, and hops are added during the boil. |
Once the malt is dissolved, the mixture is called "wort." We need to bring the wort back to a boil. The wort needs to boil for an hour. We added bittering (flavoring) hops five minutes into the hour, and aroma hops five minutes before the boil ended. There are many
different varieties of hops, each with their own flavors and aromas. The timing of hop addition and the types of hops used is important for the final taste and smell of the beer. We will be learning how to use them correctly as we get more experience brewing.
 |
| Oscar stirring the wort. You need to stir almost constantly in order to avoid boil-overs and scorching. |
After the boil, we need to cool the wort. This means that we need to cool four gallons of boiling water to about 65 degrees Fahrenheit in a reasonable period of time. (If cooling takes too long, you can get strange off-flavors in your beer.)
Our brewing book says if you live in a cold climate (and oh yes we do), you can use a handy snowbank to cool off your beer. Unfortunately, Chicago has had no snow accumulation, which unusual for December (KNOCK ON WOOD), so we--I am not making this up--had to fill the bathtub with very cold water, add all the ice from the freezer, and put the whole pot into the ice-cold tub. Also, we had to make sure the wort stayed sanitized the whole time.
 |
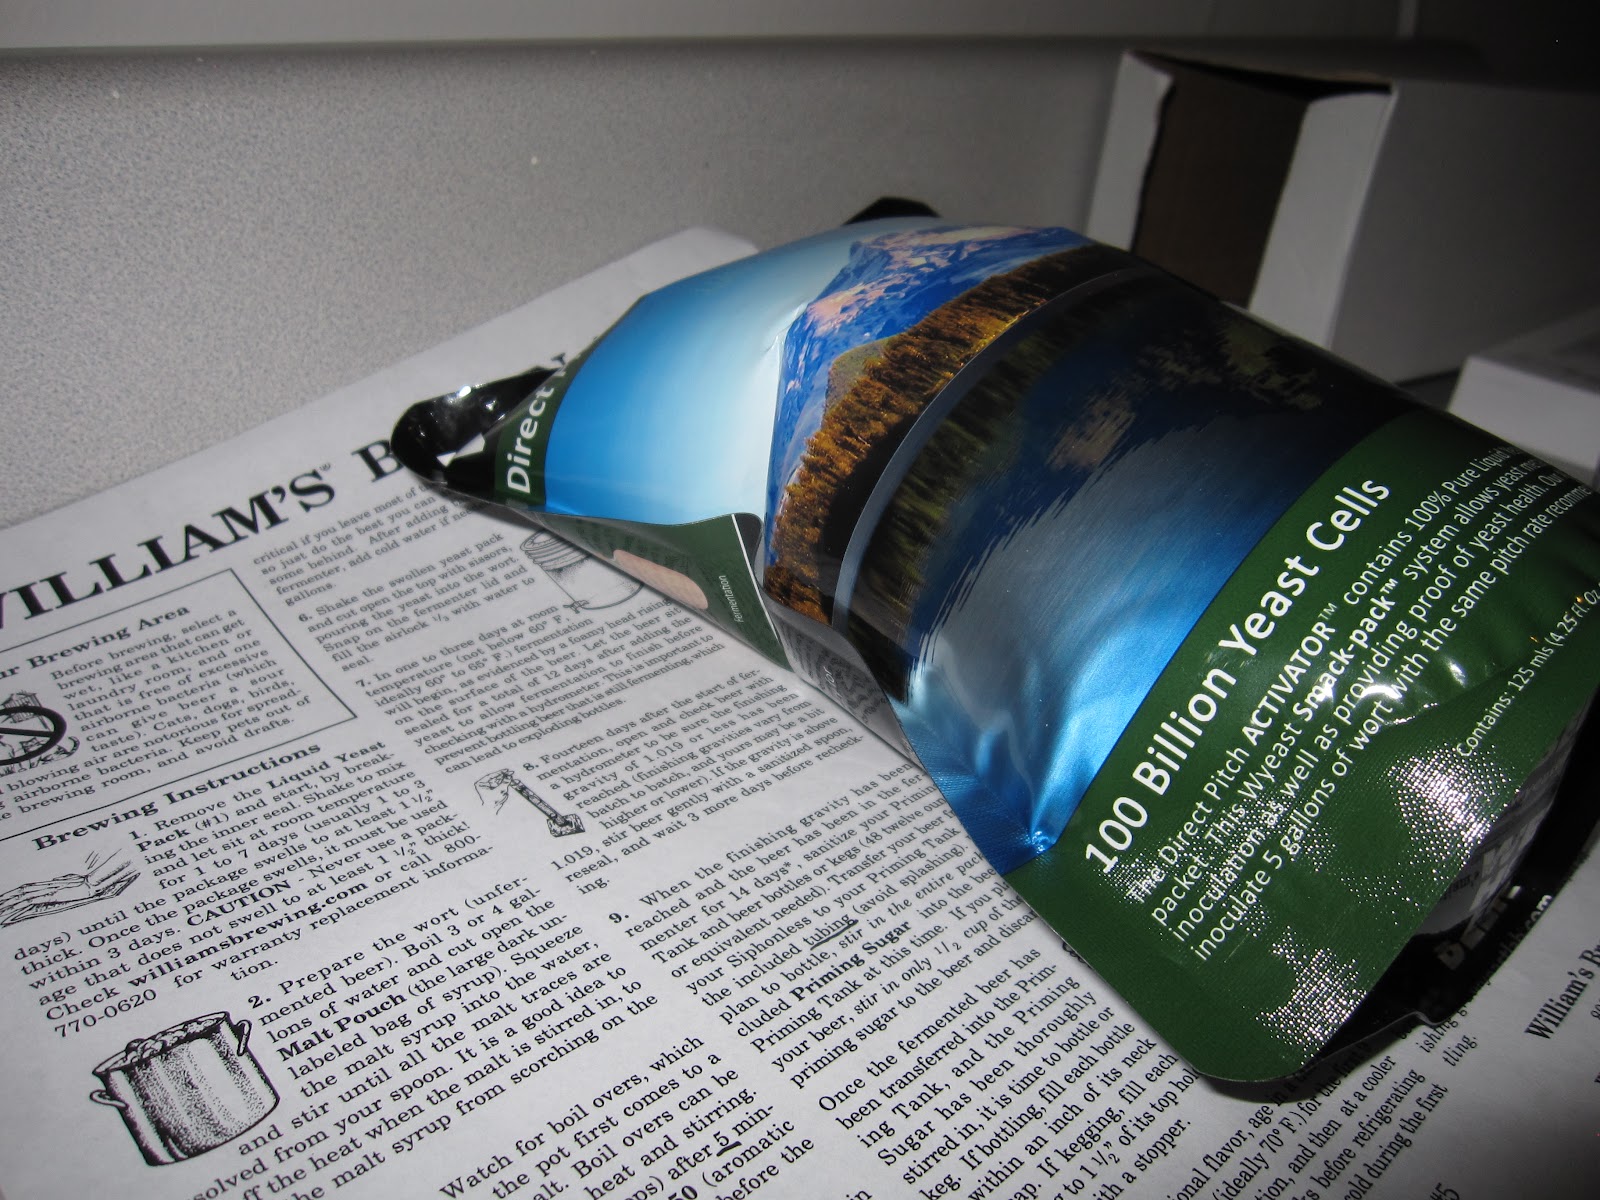
| Our yeast smack pack was swollen up and ready to use. It was so swollen that we were a little bit afraid it would explode. |
After the wort finally cooled, we poured it into the sanitized fermenter bucket, added sterile water to bring it up to five gallons total, and added the yeast. These days, beer yeast is sold in "smack packs," little foil packages that contain yeast food and yeast. Inside the foil pouch is a smaller pouch that you smack to burst, which releases nutrients into the yeast waiting inside the larger foil. The yeast eat the nutrients, grow, and release carbon dioxide, making the pouch swell. We cut the swollen pouch open and poured it into the fermenter, then capped the fermenter, and put on an airlock. The airlock allows the carbon dioxide that the yeast produce to escape (so the pressure buildup doesn't make the fermenter explode), but it keeps bacteria in the air from getting into the fermenter.
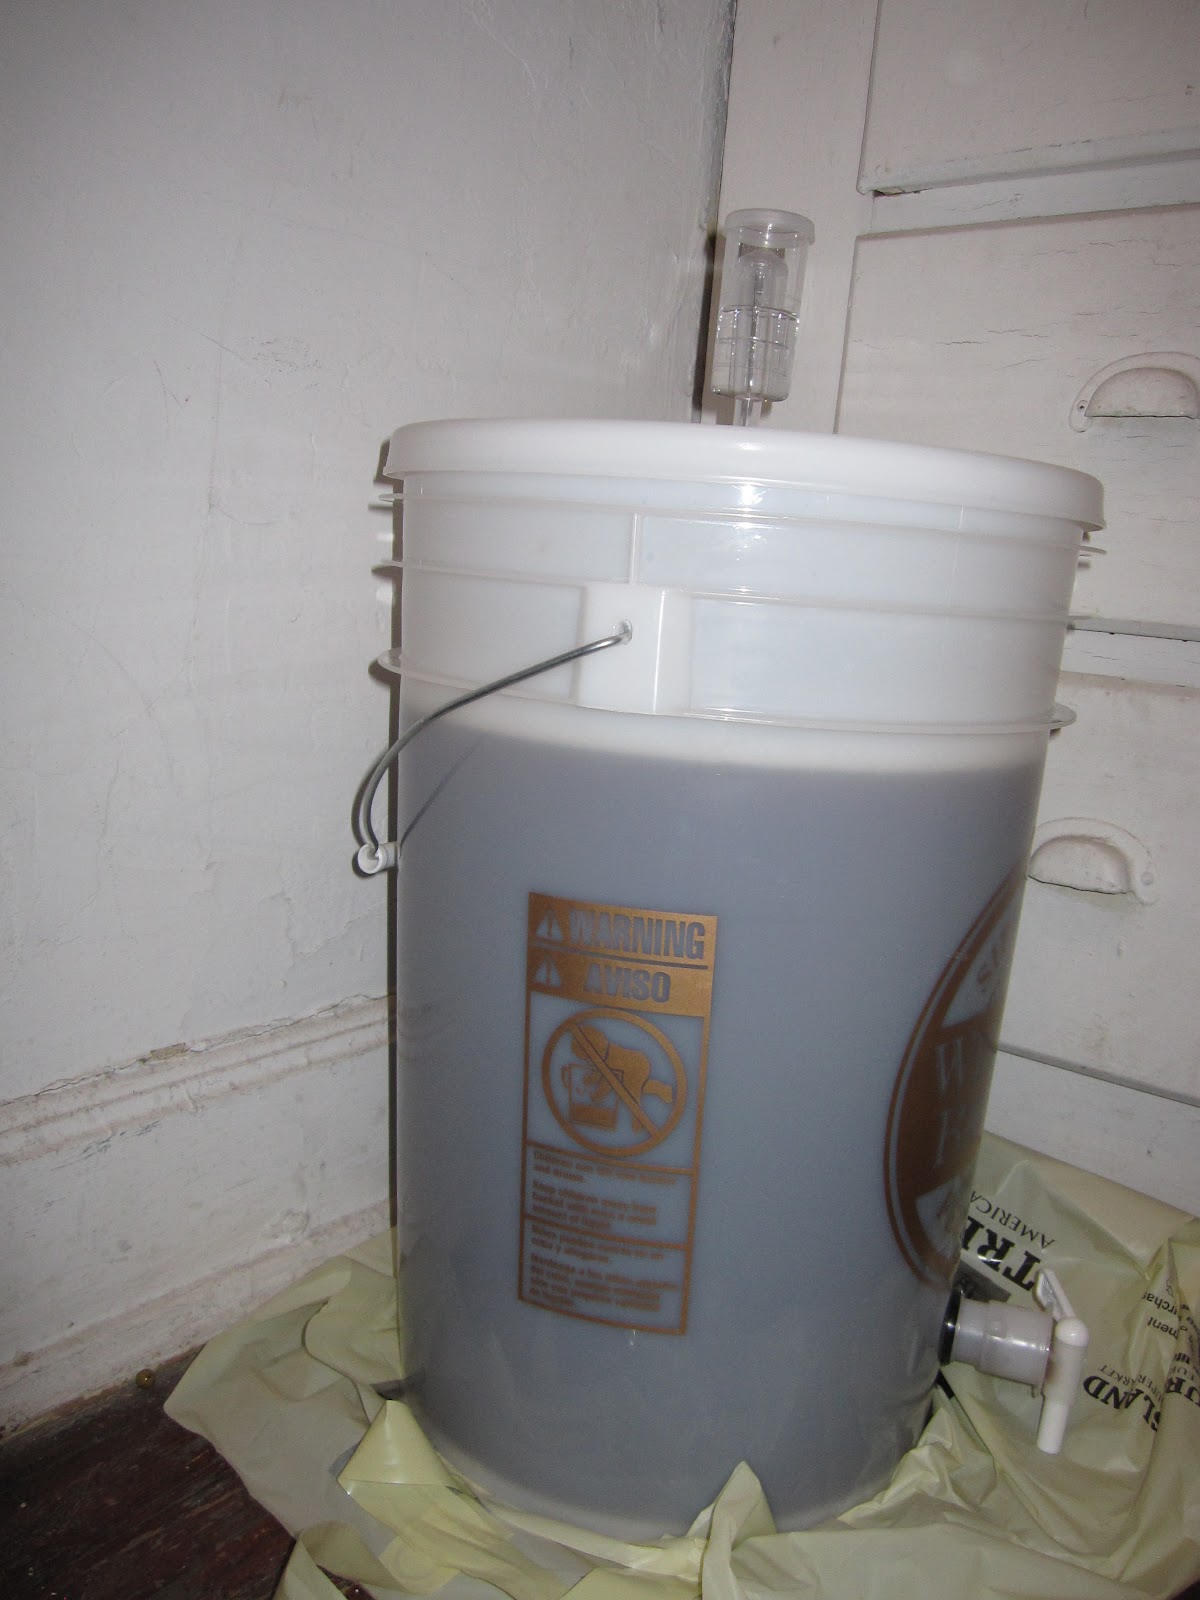
 |
| The fermenter sits in the corner of the closet for two weeks while the yeast grow and turn nutrients into alcohol. The airlock on top lets air escape so pressure doesn't build up. |
After a few days, we saw bubbling in our airlock and noticed a foamy layer on top of our beer. This told us that the yeast was growing and happy. I didn't take pictures of this.
 |
| The hydrometer measures the density (specific gravity) of the beer to tell us how much sugar has been converted into alcohol. It reads 1.019. We use this reading to calculate the percent alcohol of the beer--there are tables of numbers that we use. |
After two weeks, fermentation was done, so it was bottling day! We measured the specific gravity (basically, the density) of the beer using a hydrometer to check that fermentation was done. Sugar water is more dense than alcohol, so measuring the density allows us to figure out how much of the sugar has been turned into alcohol. The hydrometer reading should be stable for a few days when we bottle.
 |
| These are the clean bottles that we put beer in. Cleaning and sanitizing them was a pain in the neck. |
We had to clean and sanitize a lot of used bottles for five gallons of beer. We soaked the bottles in Oxiclean to remove the labels and glue residue. We scrubbed the bottles with a bottle brush. Next, we used a 20-minute soak in bleach water this time. (We bought a no-rinse sanitizer to speed things up for next time.)
 |
| Goodbye, cruel labels: we soaked old beer bottles in Oxiclean to remove the labels. |
We took sugar, and made a syrup out of it. We added this to the priming bucket, gently added the beer from the fermenter, and then stirred them together, being careful not to mix air into the beer. We put this into bottles, then capped the bottles. There will still be yeast in the beer, and they will eat the sugar we added and turn it into carbon dioxide inside the bottle; this will carbonate the beer. We used corn sugar (the standard priming sugar) for half the beer, and brown sugar for the other half. We are excited to see how the different sugars change the final product!
 |
| Here, Oscar is putting beer into bottles. |
We capped the beer using a capper tool. You use it by placing an unused cap on top of the bottle, put an opening in the capper over the mouth of the bottle, then push open the arms of the tool. This causes the capper to tighten around the cap, crimping it onto the bottle.
 |
| I'm capping bottles. The red plastic thing is the capping tool You don't need to tell me how cool I look after washing all those bottles. |
Now, we're waiting for the yeast to finish eating the sugars/carbonating the beer. This takes two or three weeks. Let's hope it turns out!
 |
| Our finished product! I can't wait to see how it turned out! |